Real Estate Transaction Coordinator Checklist for 2026 (With A Free Template)

Managing a real estate transaction from listing to closing is no small task. In fact, transactions can include as many as 198 tasks bound by strict deadlines and legal requirements.
That’s 198 opportunities for mistakes, which can lead to delays, deals falling through, and even regulatory or legal action being taken against you.
It’s therefore critical that brokers provide staff with the tools to work efficiently and stay organized.
A real estate transaction checklist is the best way to track the closing process, whether you manage the transaction yourself as a realtor, or use a transaction coordinator.
In this article, we’ll explain everything you need to know about transaction checklists and how to use them to solve common transaction-related issues. At the end of this guide, we’ll also share a free spreadsheet that you can use to track your transactions so that nothing falls through the cracks.
Free Real Estate Transaction Checklist
The free real estate transaction checklist above will help you ensure a smooth transaction. It contains two options: one for a buyer’s agent and one for a listing agent.
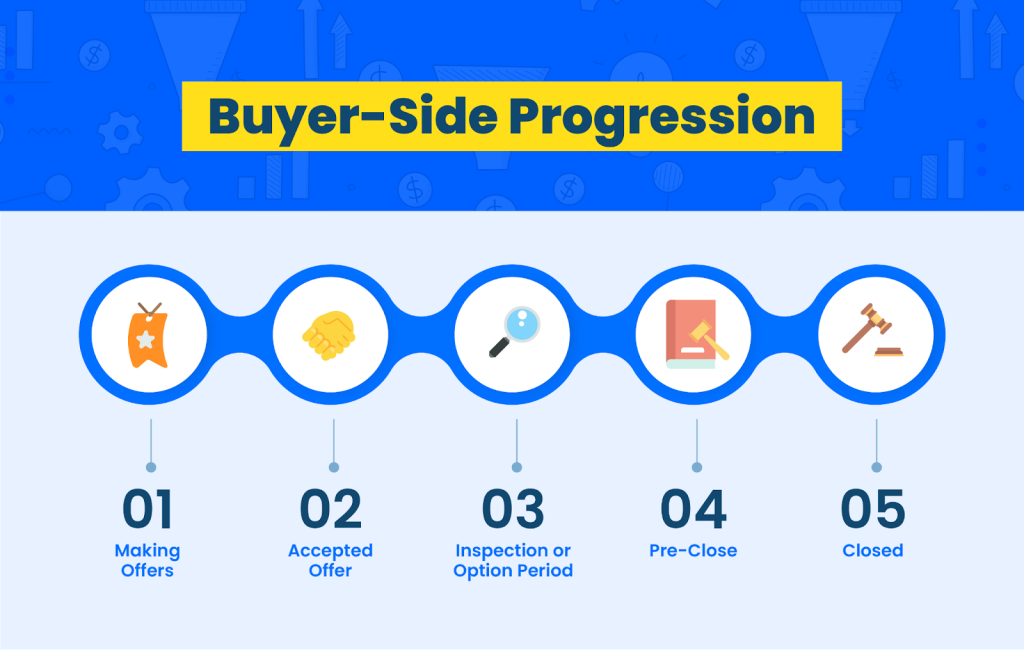
The buyer-side real estate checklist has four phases:
- Active buyer: Steps to set the buyer up on your systems, verify loan documents with the lender, and find out what property type they want.
- Making offers: This is where you help your clients make and negotiate offers on properties they want to buy.
- Under contract: This is all the administrative requirements that need to take place between the purchase agreement being signed and the closing date. You’ll then attend the final walk-through of the property with your client.
- Post-closing: Critical marketing and compliance steps.
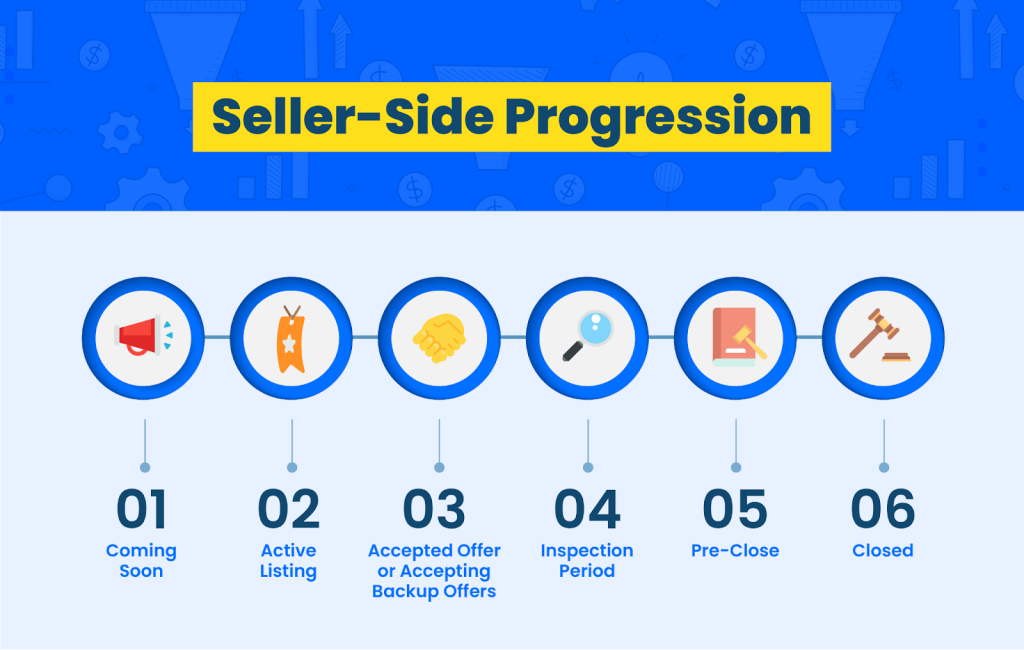
The listing side real estate transaction checklist has five phases:
- Prospective listing: This phase is where you sell yourself and convince your potential seller to work with you.
- Pre-listing: This is where you gather all the property details you need to write and post a compelling property listing.
- Active listing: In this phase, you’ll market your client’s property and get as many viewers and offers as possible. You’ll help host open houses and post adverts where most buyers will see them.
- Pending: Once a purchase agreement has been signed, it’s time to take down the property listing and complete a number of critical tasks before the closing date. This includes hiring a title company, collecting an earnest money deposit, and ensuring that your client signs all required disclosures and final closing documents.
- Post-closing: Mark your listing as sold and then perform a series of critical marketing and compliance steps.
Is Your Real Estate Company Coordinating Transactions as Well as It Could Be?

In 2025, with tighter margins, higher interest rates, and more complex compliance standards, brokerages face even greater pressure to manage transactions efficiently.
Remote work and digital signatures have become the norm, while clients expect faster updates and total transparency.
That’s why having a structured, automated real estate transaction coordinator checklist is essential to stay competitive and compliant.
The spreadsheet-based real estate transaction checklist we’ve included at the end of this article is useful if you’ve just started out.
However, more established brokerages and those managing multiple deals across different agents and admins could still struggle to track transactions using a spreadsheet.
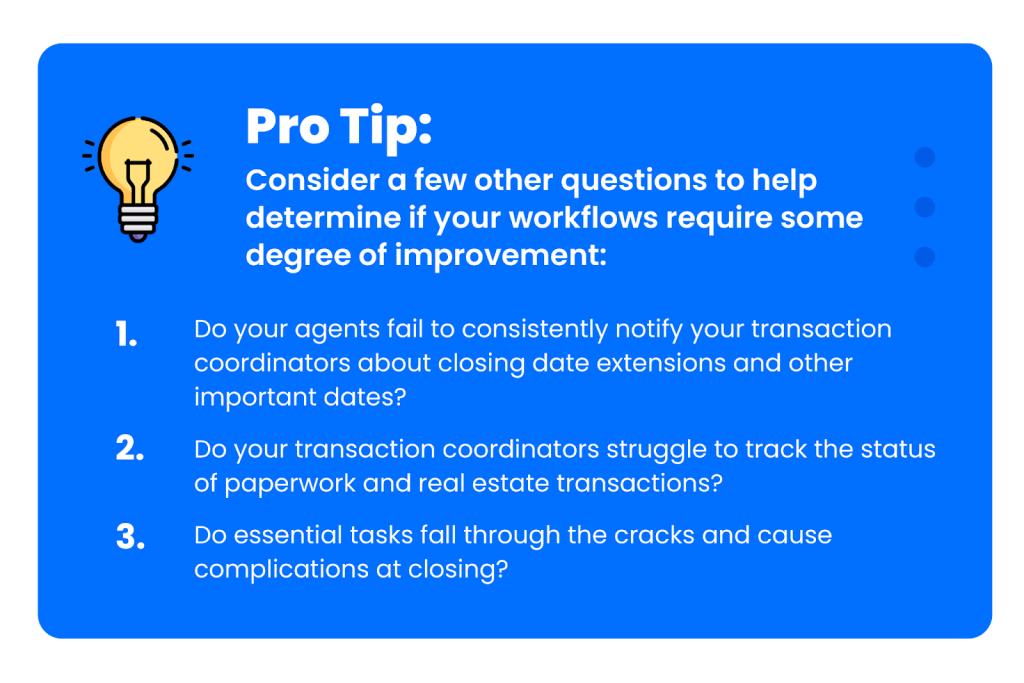
Can you guarantee that your staff will use it when they need to? What happens if someone forgets to check off a task?
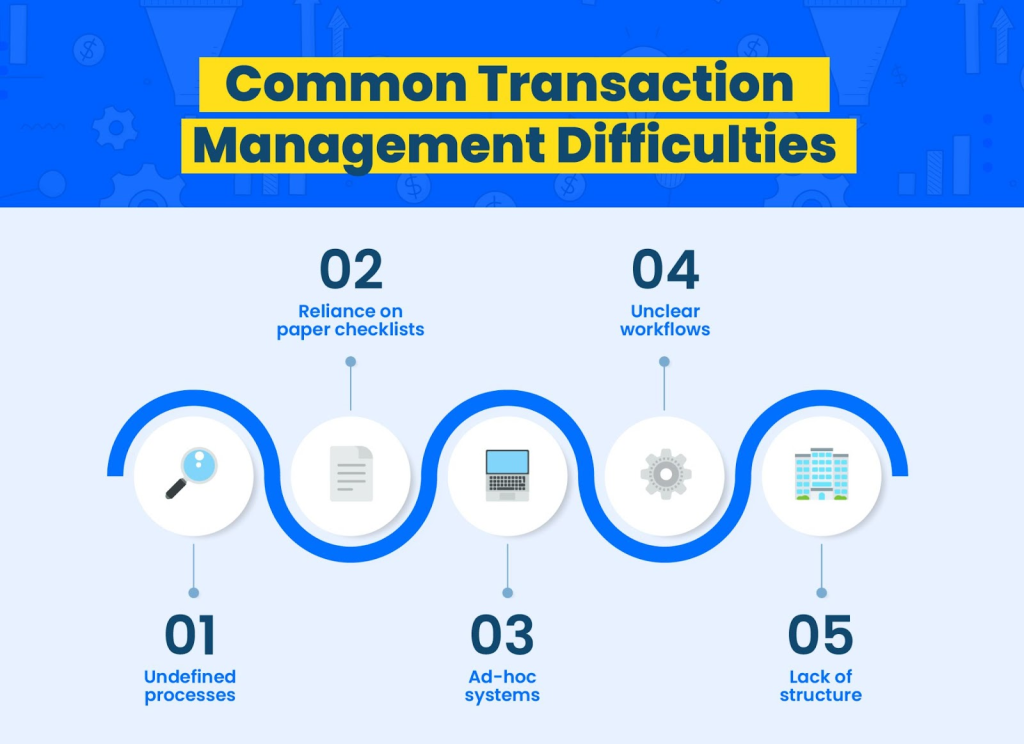
Disorganized brokerages lose time searching for lost paperwork and missing deadlines, and the problems stemming from inefficient systems are common because developing new and effective workflows feels daunting.
In response, many brokerages use the same confusing paper real estate transaction checklist and manual processes to manage transactions from listing to closing. This means ensuring consistency, compliance, and satisfaction in the long term becomes increasingly challenging.
Here are a few solutions to these challenges:
Solution One: Hire a Transaction Coordinator

For many top-producing brokers and real estate agents, hiring a transaction coordinator is the most effective way to ensure a successful transaction every time.
A transaction coordinator ensures an efficient and organized transaction process by keeping all parties, buyers, sellers, agents, and lenders aligned through precise workflows and real estate checklists. They use effective time-saving processes that often take years of experience and practice to develop.
Additionally, they help your real estate agents provide an exceptional experience to buyers and sellers, and ensure every transaction stays on track to close deals successfully.
Solution Two: Use an Automated and Customized Real Estate Transaction Coordinator Checklist

What if you can’t afford a transaction coordinator or you prefer to manage deals yourself? The good news is that with the right system and a good real estate transaction checklist, any agent, broker, or team can start working more efficiently and eliminate mistakes.
Specific checklists and workflows for any deal scenario allow your real estate agents and admins to:
- Automatically see only the necessary tasks.
- Make contact information easily accessible.
- Organize deals more clearly.
- Better categorize relevant paperwork.
- Quickly view transaction status information whenever they need it.
Solution Three: Electronic Real Estate Transaction Coordinator Checklists

Coordinating real estate transactions and ensuring that every contractual obligation and compliance requirement is fulfilled correctly requires more than a written list of tasks.
Although there are generic templates you can search for and download from the internet, none are specific to the real estate transaction your agents will close.
These free templates have limitations, and you will often spend more time trying to figure out what you don’t need than you do.
On the other hand, with a cloud-based transaction checklist that syncs with eSign and CRM tools, you can:
- Identify which transactions are missing essential documents.
- Easily spot a real estate contract or other critical document with missing or incomplete information.
- Use priority labeling and easy filtering to never miss critical due dates on any transactions.
- Automatically sync transaction due dates with your preferred calendar system and receive automatic reminders about upcoming tasks.
- Let the transaction management system set important due dates based on business and calendar days before or after listing and closing dates, contingency dates, and option dates.
- Use message templates and tags to inform agents about important transaction updates.
While a list of every document required to close a transaction is vital, this alone will not meet the needs of busy brokerages or real estate agents.
An electronic platform enables you to go beyond just marking off completed steps or items received. It allows you to meet clients’ needs and stay organized.
Solution Four: Use Purpose-Built Systems

The checklists that come with most transaction management software are built by engineers who have never worked in the real estate industry.
These checklists don’t provide accurate and specific workflows for real estate transactions, which can be frustrating for agents. But if your workflows and checklists are part of a system intentionally designed for the transaction management process, your essential tasks will be precise.
This ensures that you have everything you need and makes it easier to find and retrieve the required documents and information.
Here’s how purpose-built real estate transaction management software can help:
Customized to suit your requirements
Different types of real estate transactions each have specific requirements. Transaction management software that supports specific customization will help you to develop and refine unique checklists.
You should also ensure that the system allows for:
- Critical due dates.
- Contingencies.
- Milestones.
- Options for automated deadlines.
Manage real estate transactions from anywhere
Real estate professionals often work and process documents away from the office. An electronic checklist accessible from anywhere—and at any time—enables agents to input information that busy brokers, admins, and real estate transaction coordinators can reference whenever they need to.

2026: Transaction coordination has evolved
The real estate landscape looks different than it did even a few years ago. Brokers must understand emerging capabilities and requirements to ensure their brokerage can embrace them.
Recent changes include:
- Digital closings and eSign laws: Platforms like DocuSign and Paperless Pipeline’s built-in eSign tools make remote transactions standard.
- Stricter compliance requirements: State regulators increasingly demand real-time audit trails and accurate timestamped records.
- AI-driven task management: Many transaction management platforms now use AI to flag missing documents or overdue tasks automatically.
- Virtual collaboration: With more hybrid teams, cloud-based systems that sync across devices are critical for smooth operations.
Create Expert-Level Transaction Coordinator Checklists in 4 Steps
This section discusses best practices to help you create workflows and checklists for every stage and type of deal.
1. Define the stages of your real estate transaction process
Start by writing down how a typical transaction moves forward and what may throw it off course. It’s often helpful to think about the different deal stages or transaction statuses:
Listing real estate deals may follow a similar flow, but they might look a little different depending on your location, style, and preferences:
Next, write down other stages that may be less common but may still require additional action, considering those stages where something changes the course of the deal.
If you’re a Paperless Pipeline user, once your stages are fully mapped out, you can create them in your account as transaction statuses.
Customizing your transaction status will help transaction coordinators, admins, and agents move deals from one stage to another without confusion. It also allows the system to apply checklists with appropriate and necessary tasks automatically.
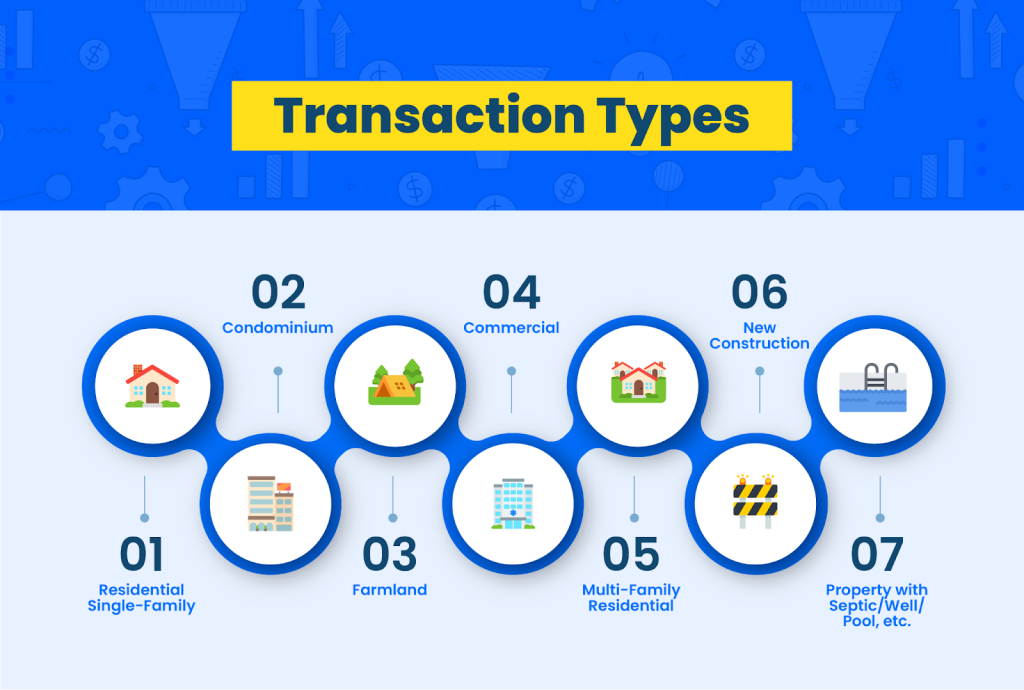
2. Identify the types of deals
It’s important to tailor your checklists to the transactions you often use and account for all necessary tasks, documents, and requirements.
If you’re a Paperless Pipeline user, after you’ve identified the types of deals your agents are most likely to encounter, you can add each one to your account as transaction labels.
By adding these specific transaction labels, you can ensure that your transactions reflect the unique requirements of each deal.
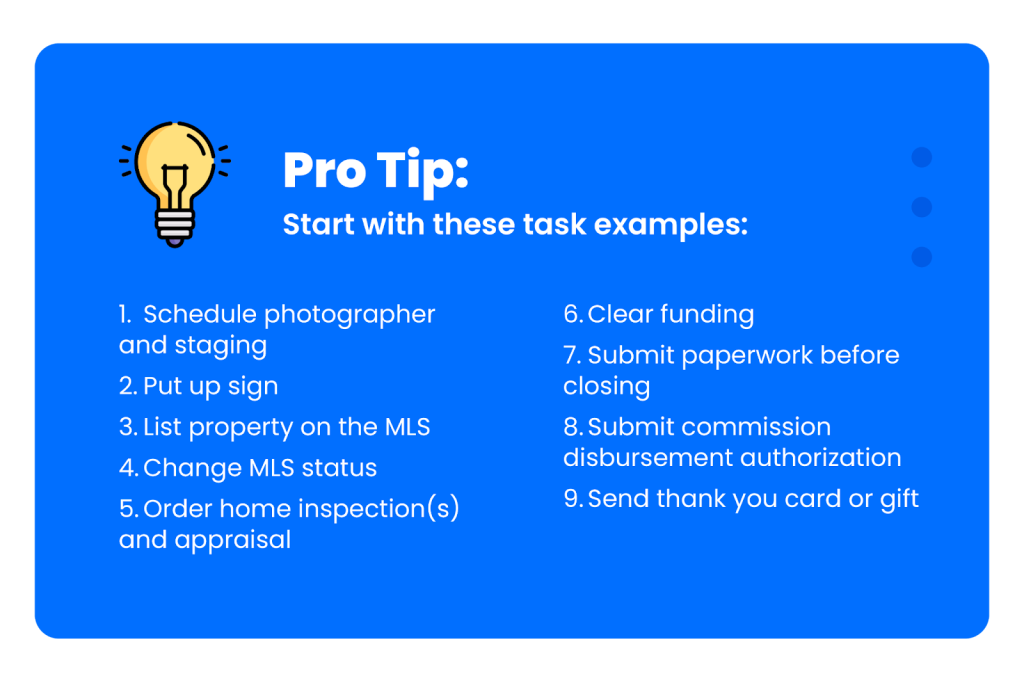
3. Write down the tasks and dates required for each situation
Using the list of dates you created earlier, write down all the administrative tasks that need to happen before, during, and after each step. Think through every step carefully—from staging and putting up a sign to creating a commission disbursement, and collecting funds.
4. Create your transaction coordinator checklist
After adding your custom statuses and labels, you should match specific tasks for each variation, starting with the most common or straightforward type of deal and stage progression.
Here’s a typical example: A purchase of a residential (post-1978) property that doesn’t fall through, and does not have a septic system, well, pool, or HOA requirements.
With that deal in mind, outline every task and document required for each stage of the deal. For example, you may include:
- Listing agreement documents.
- Client communication requirements.
- Option periods.
- Due diligence deadlines.
After creating your first checklist, you can copy it and use it as a transaction coordinator checklist template. You can then add new tasks to your template for other conditions, such as a lead-based paint addendum, and make a copy of that too.
Get Checklists Pre-Loaded in Your Paperless Pipeline Trial
While you can download the spreadsheet version of our checklists above, starting your Paperless Pipeline free trial will give you access to the exact same checklists, pre-loaded and ready to use within the software, saving you time and effort.
With your free trial, you’ll be able to:
- Instantly access buyer and listing checklists tailored to your needs.
- Get automated task reminders, so you never miss a deadline.
- Automate your transaction management and improve team efficiency with no extensive setup necessary.
Start your free trial today—no credit card required, and cancel anytime. Experience firsthand how Paperless Pipeline can streamline your workflow and help you close more transactions faster.

Ready to simplify your process and delight your agents?
In less than a minute you can start testing the newest features built to help your entire office close more deals. It’s simple, powerful, and 100% free to try without a credit card.
Try it free →